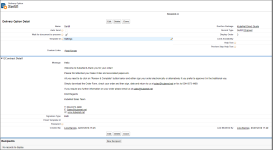
This is the final step in completing your Sertifi for Nintex installation.
You must update the page layout, retrieve the Sertifi application custom setting, and update the Sertifi delivery option to send documents for signature and payment. Once you complete the following workflow, your installation is complete and you can start using Sertifi for Nintex.
Update the Page Layout for Sertifi Delivery options
To update the Page Layout for Sertifi Delivery options:
- Navigate, in Salesforce, to Setup > Create > Objects > Delivery Options.
- Scroll down to Page Layouts.
- Click Edit next to Sertifi Layout.
- Add the Template Id field anywhere on the page layout.
- Click Save to save the page layout.
Retrieve the Sertifi Application Custom Setting
To retrieve the Sertifi Application Custom Setting:
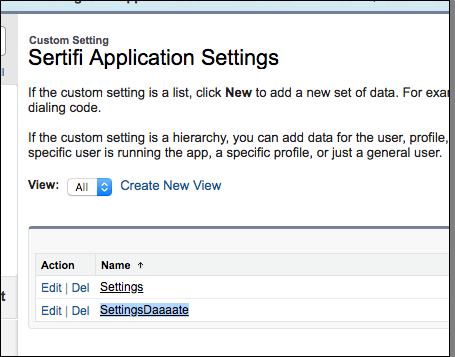
- Navigate, in Salesforce, to Setup > Custom Settings > Manage Sertifi Application Settings.
- Copy the name for the Custom Setting you need. In this example, SettingsDaaaate.
- Navigate to the Nintex app.
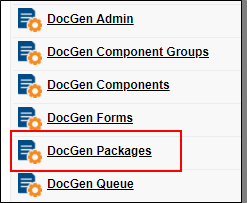
- Click DocGen Packages.
- Select a recent doc gen package related to your sending object.

- Navigate to your Delivery Options.
- Click Edit to edit the Sertifi delivery option for your Document Package.
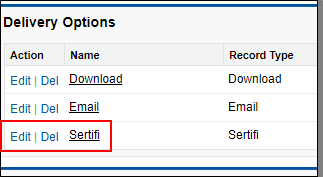
- Paste the Custom Setting name into the Template Id field.
- Add a value to the Display Order field. This number varies depending on how many other existing delivery options you configured.
- Click Save to save your delivery option.
- Add and configure at least one Recepient. Nintex's documentation specifies all the possible options for Recepients. For example, to allow the user to select a Contact as a recepient every time they run the wizards, fill in the Option field with 'Contact Lookup', and Secondary Option with 'Contact'.
- Optionally, you can create a custom button to begin the Nintex workflow, and add it to the layout of your sending object. Nintex's documentation describes how to configure custom buttons.
- Navigate back to the record, and then click Generate Document.
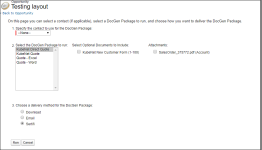
- Select a contact and then click Run on the testing layout. After you click Run, a message appears.
- Click Send to Sertifi to send the document package, and then view the package in the Sertifi E Contract Detail list.

Make sure to remove any insert-updates related to updating some fields for Sertifi.
